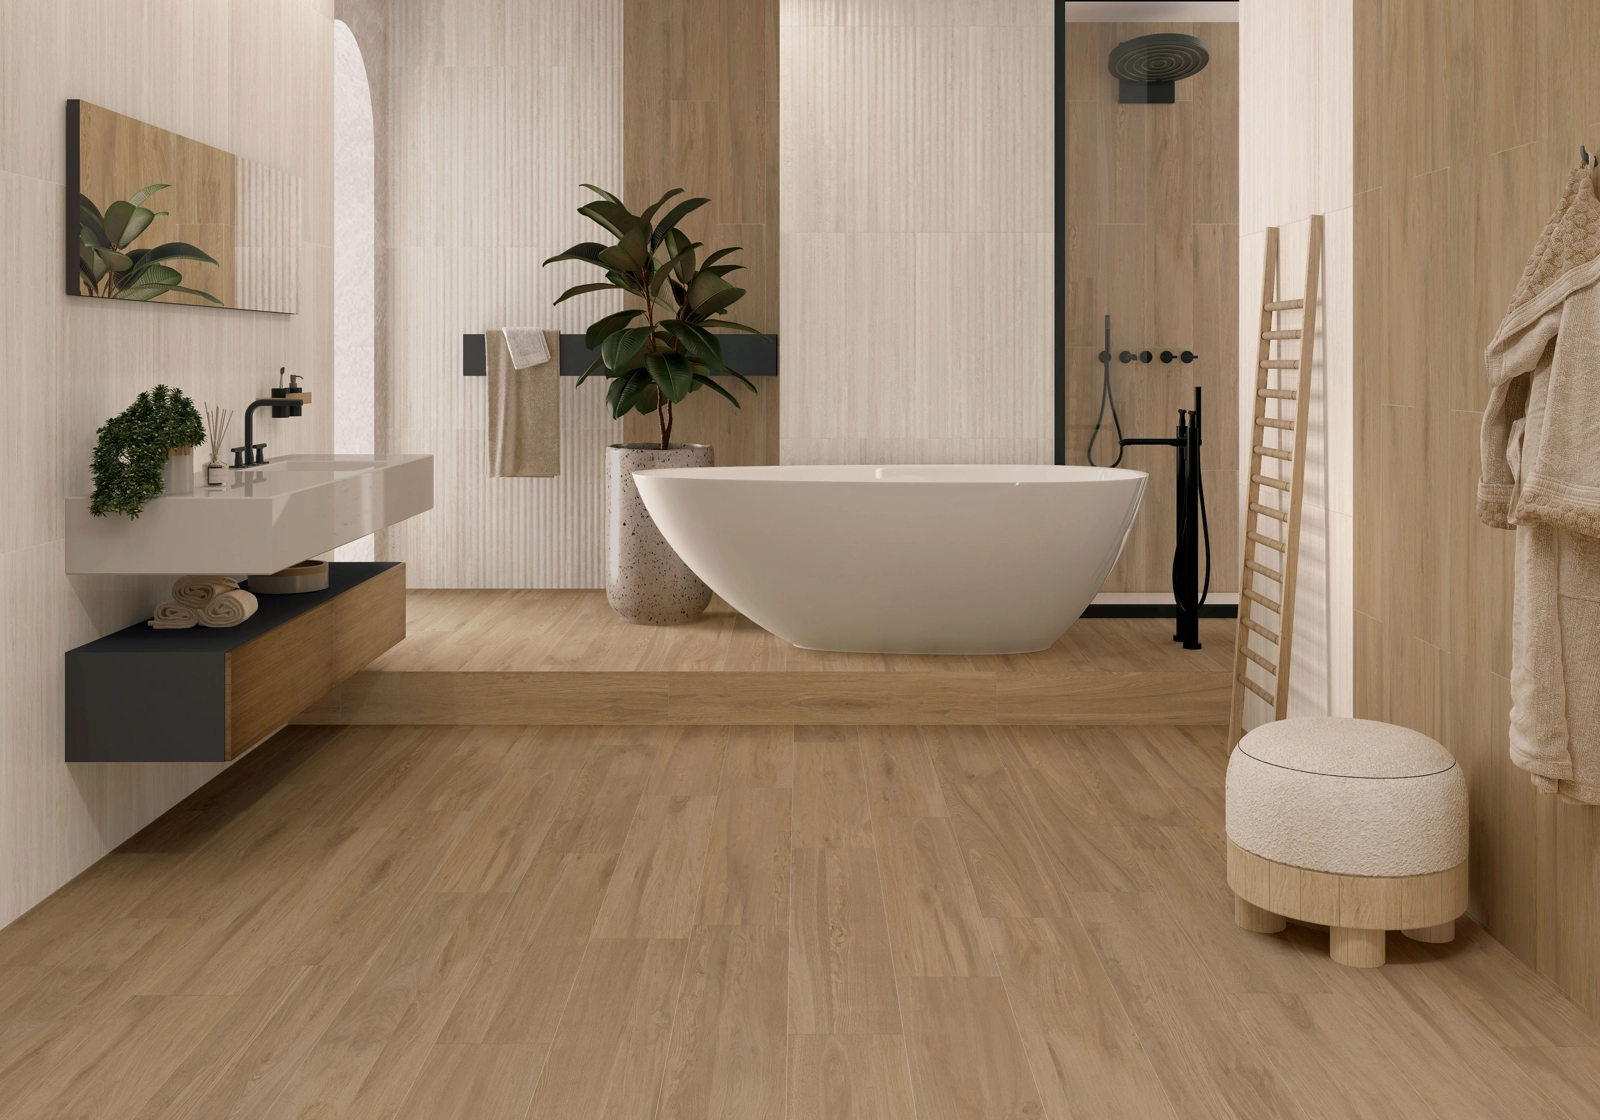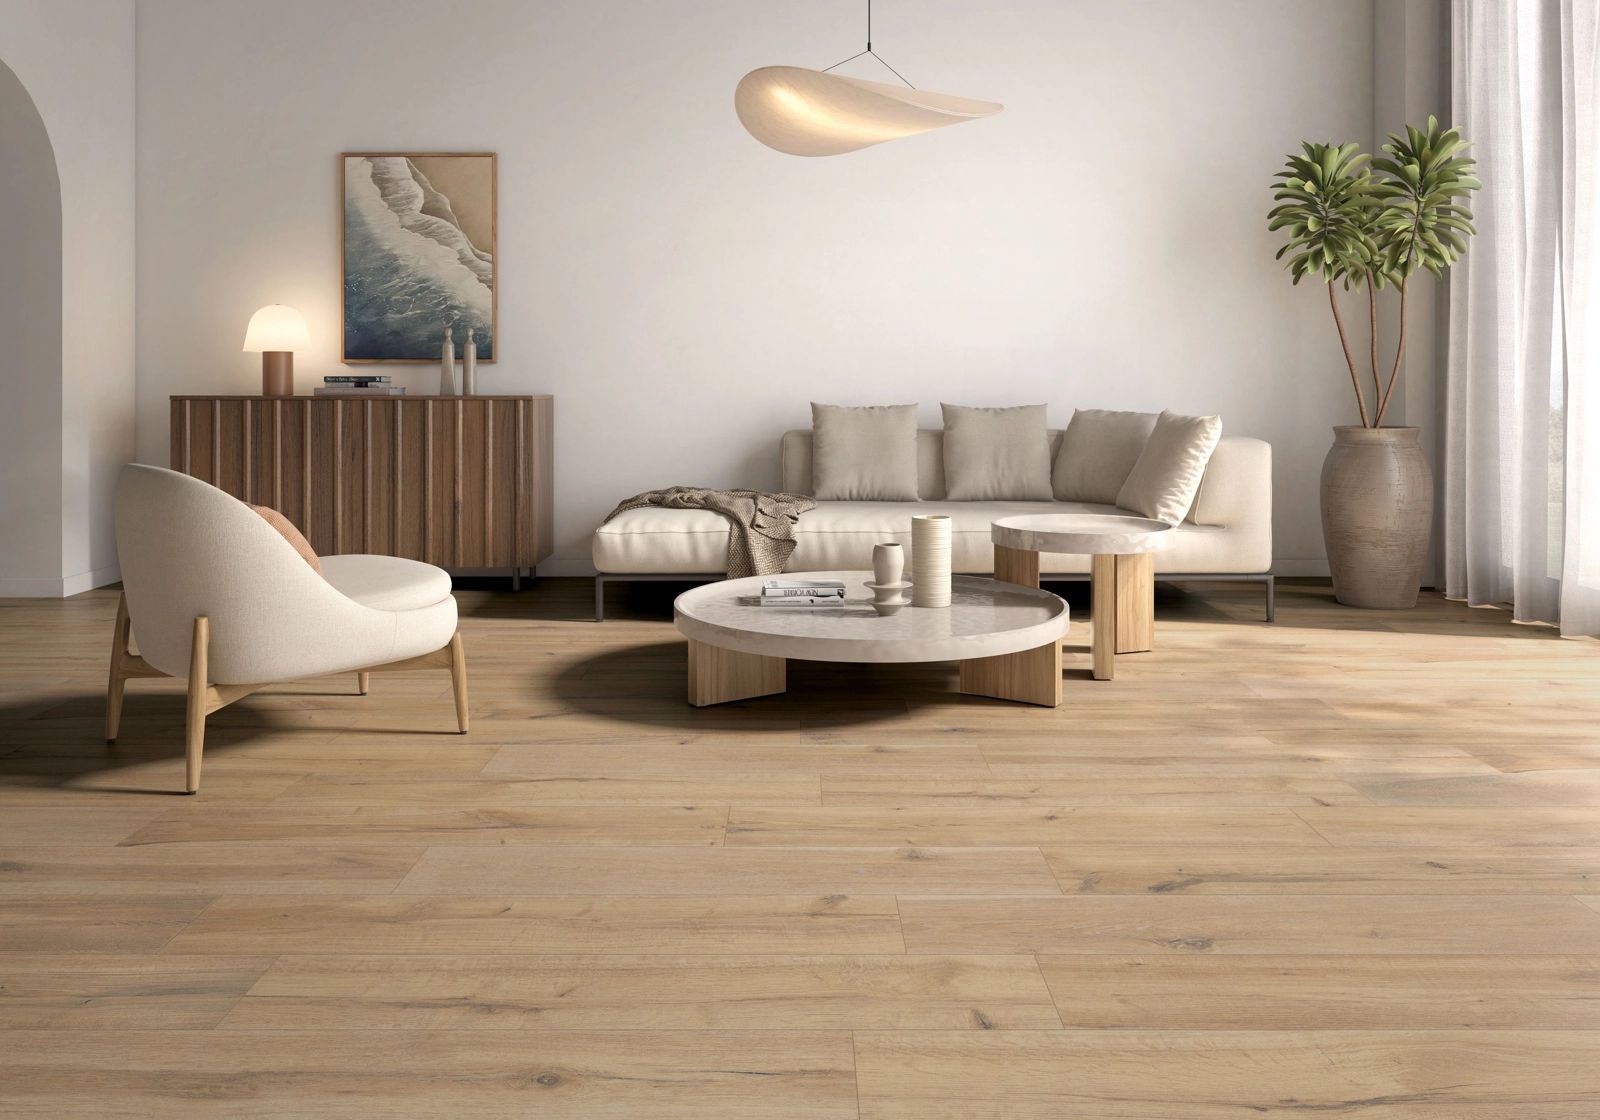
A material worth a closer look
Wood-effect porcelain is receiving fresh attention in this week’s design coverage. House Beautiful’s 21 October feature weighs improved timber interpretations against designers’ reservations. The following day, gb&d’s Cersaie review highlights oak-inspired porcelain as part of a wider interest in natural-looking surfaces. Together, they suggest a renewed conversation about where the material belongs.
That is an editorial observation, rather than a claim about UK search demand or a popularity ranking. For a homeowner or designer, the useful question is more personal: does timber character suit the space, and can the complete tiled floor deliver the atmosphere you want?
Decide what the floor should contribute
Start with the room rather than a favourite sample. In a bathroom, consider the floor beside the vanity, painted walls and shower surface. In a kitchen, include the cabinetry, worktop and any timber furniture. A restrained floor can connect these elements; a strongly marked grain adds another pattern to the composition.
Write down three qualities you want from the scheme, such as light, quiet and warm. Use them to edit the shortlist. This gives every material a purpose and makes it easier to reject an attractive tile that pulls the room in a different direction.
Compare colour across several planks
Our current Soul collection offers Chocolate, Roble and Beige in matt porcelain, each in a 23.3 × 120 cm plank. Nook Wood offers Roble and Gris in the same listed format and finish. These are distinct collections: a shared colour name or dimension does not mean the grain, tone or surface will match.
Ask to assess several tile faces together, including the range of variation, rather than judging the floor from one small piece. Place them beside the other finishes in daylight and evening light. View the grouping from the doorway as well as close up; the overall balance matters more than one particularly appealing detail.
Draw the direction before committing
Sketch the planks on a measured plan, showing doors, the bath or shower, cabinetry and any adjoining floor. Compare directions and notice where the eye travels. Follow the room’s proportions and its most important sightline rather than assuming there is one correct direction for every space.
Discuss the proposed arrangement with your installer before ordering. Ask them to confirm the permitted offset, joint width and edge cuts for the exact product. Include thresholds and changes of level in that conversation. A simple layout drawn accurately is more useful than an elaborate pattern left to be resolved on installation day.
Let the joints belong to the scheme
Compare grout samples with the tile’s background colour as well as its grain. Look at the proposed joint across several planks: you are choosing the rhythm of the whole floor. Request a small mock-up if the relationship is difficult to judge from loose samples.
Keep surrounding finishes edited. If the floor has pronounced timber markings, try a quieter wall surface and repeat one of the floor’s undertones elsewhere. Avoid expecting porcelain to match existing timber exactly; assess the junction deliberately and decide whether the materials look comfortable together.
Confirm the practical specification
Appearance and a matt label do not establish suitability for a particular bathroom floor or shower. Confirm the exact tile’s intended application and declared slip information for the area, alongside the installer’s proposed substrate preparation, waterproofing and drainage details where relevant. Check any heating-system requirements before finalising the floor build-up.
Then agree the layout, quantity allowance and finishing details together. Manufacturer room photography helps establish a direction, but the pictured colour or format may differ from your selection. A considered floor begins with samples and a clear specification, leaving fewer decisions to chance.
See the material for yourself
Bring your ideas into focus.
Choose up to three samples, or talk us through the room you’re planning. Sample availability and delivery arrangements are confirmed separately.